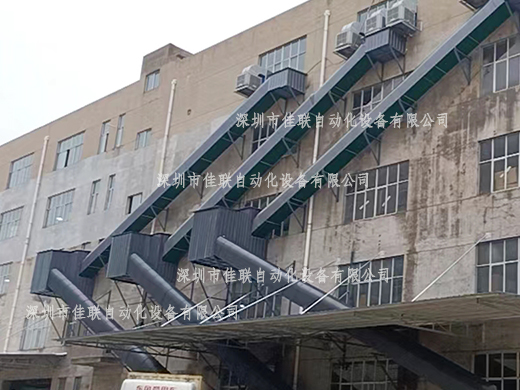
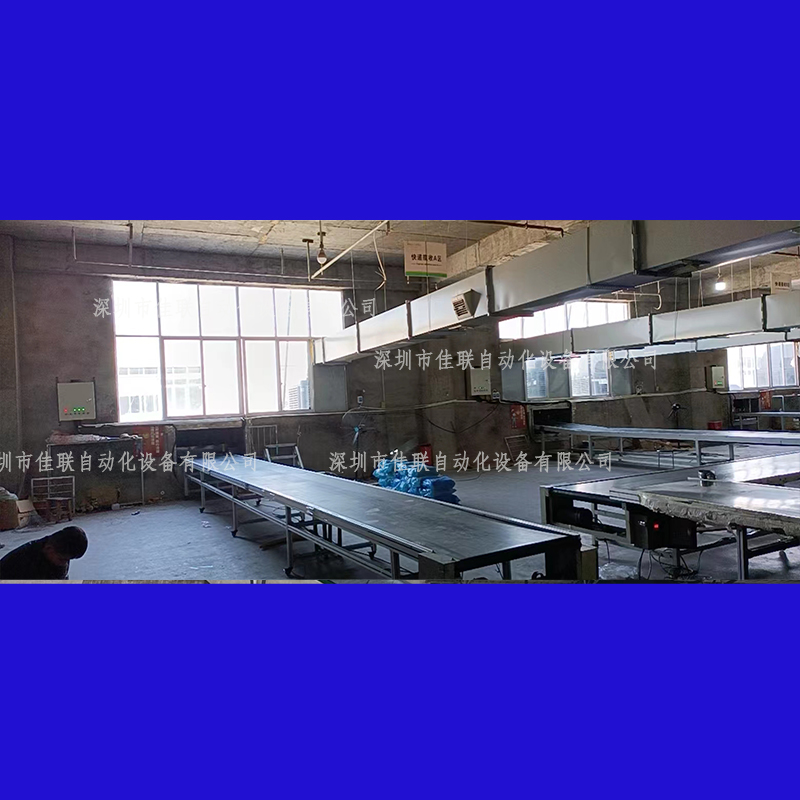
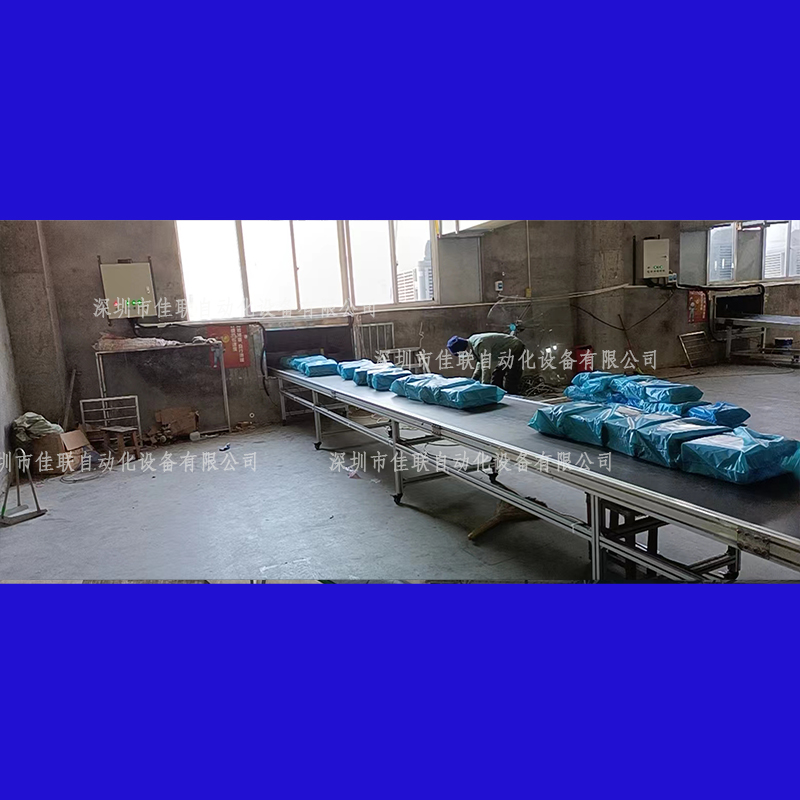
Main Parameters of Assembly Line Slope Inclined Belt Conveyor for Food & Pharmaceutical Loading and Unloading
The main parameters are generally determined according to requirements of the material handling system, site conditions at loading & unloading points, relevant production processes and material properties.
① Conveying Capacity: It refers to the quantity of materials transported per unit time. For bulk materials, it is calculated by mass or volume per hour; for packaged goods, calculated by pieces per hour.
② Conveying Speed: Higher speed increases conveying capacity. For belt conveyors with long conveying distance, higher speed is adopted. However, high-speed belt conveyors need to pay attention to vibration, noise, start-up and braking. For conveyors using chain as traction member, speed should not be too high to avoid excessive dynamic load. If process operations are carried out during transportation, the speed shall comply with production process requirements.
③ Component Dimensions: Including belt width, slat width, hopper volume, pipe diameter and container size, etc. These dimensions directly affect conveying capacity.
④ Conveying Length & Inclination Angle: The conveying route length and inclination angle directly affect total resistance and required power of the conveyor.
Conveyor Features
Flexible direction change; conveying direction can be adjusted freely with maximum angle up to 180°. Each unit consists of 8 rollers. Each unit can work independently or connect with multiple units for combined use, easy installation. Telescopic structure; the ratio between maximum and minimum length of one unit can reach 3 times. Conveying direction can be flexibly adjusted, over 180° at maximum.
Installation, Operation & Maintenance
I. Start-up and Shutdown
Conveyors shall generally start under no-load condition. When multiple belt conveyors are installed in sequence, interlocked starters shall be equipped so that the central control room can start and stop them in order. In addition, local start/stop buttons shall be fitted on each unit for emergency, to stop any single machine separately. To prevent longitudinal tearing of belt, for conveyors longer than 30m, emergency stop buttons shall be installed at intervals (25–30m) along the whole conveyor.
II. Belt Conveyor Installation
The installation proceeds in the following stages:
-
Install frame: Start from head frame, then install intermediate frames one by one, finally tail frame. Before installation, draw the center line along the full length of conveyor. Keeping the center line straight is critical for normal belt running. All frame sections must align with the center line and be leveled. Allowable deviation of frame to center line: ±0.1mm per meter, and total deviation along full length shall not exceed 35mm. Connect all sections after positioning.
-
Install drive unit: Ensure drive shaft perpendicular to conveyor center line; the midpoint of drive pulley width coincides with conveyor center line; reducer axis parallel to transmission axis. All shafts and pulleys shall be leveled. Allowable horizontal shaft deviation: 0.5–1.5mm depending on conveyor width. Install tail pulley and tensioning device meanwhile; the axis of tension pulley shall be perpendicular to conveyor center line.
-
Install idlers: After frame, drive unit and tensioner are installed, mount upper and lower idler brackets to form gentle curved sections for belt turning. The spacing of idler brackets at curved sections is 1/2~1/3 of normal spacing. Idlers shall rotate smoothly and flexibly after installation.
-
Final alignment: To keep belt running centered on idlers and pulleys:
-
All idlers shall be aligned, parallel to each other and horizontally level.
-
All pulleys shall be aligned and parallel to each other.
-
Support frame must be straight and horizontally level. Final alignment of center line and level shall be completed after drive pulley and idler brackets are installed.
-
Fix frame on foundation or floor, then install feeding and discharging devices.
-
Mount conveyor belt: Lay belt on idlers of empty side first, wrap around drive pulley, then lay on loaded-side idlers. A 0.5–1.5t hand winch can be used. Before belt connection and tensioning, move tension pulley to limit position: for cart-type and screw tensioners, pull towards drive unit; for vertical tensioners, move pulley to top position. Reducer and motor shall be installed before belt tensioning; brake devices are required for inclined conveyors.
-
No-load test run after installation. Check belt deviation, temperature of drive parts, rotation status of idlers, contact tightness between scraper/guide plate and belt surface, make adjustments as needed. Load test can start only after all components work normally. For screw tensioners, re-adjust belt tightness during load test.
Belt deviation causes & handling:
-
Caused by unlevel pulley: shut down and level if installation exceeds tolerance; re-machine pulley outer circle if pulley diameter error is too large.
-
Material buildup on pulley surface: clean regularly.
-
Belt deviates under load: adjust feeder position.
-
Belt deviates when empty but returns normal with load: generally caused by excessive initial tension; adjust appropriately.
 WhatsApp